
Electric Resonator Guitar
| 08/06/2025 | Written By: Kim Ippolito | Formatted/Edited By: Lauren Ippolito |
Welcome to my build page for an electric resonator guitar!
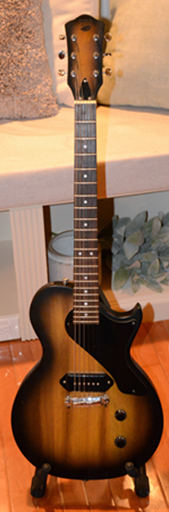
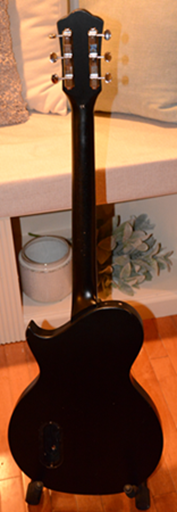
To create this build, I found a used Les Paul Junior style guitar with P90 pickups from Craigslist. When I got it, the first thing I noticed about this guitar was how light it was!
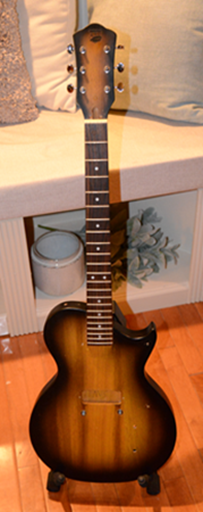
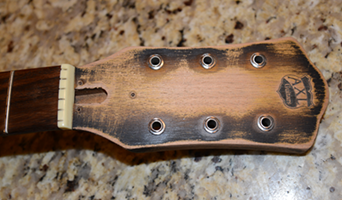
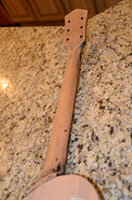
The first step was to strip it down.
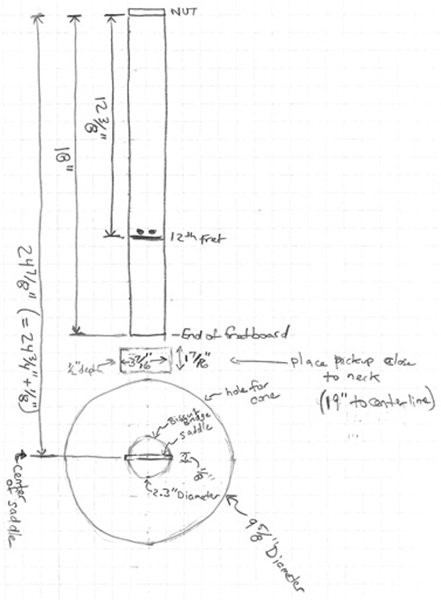
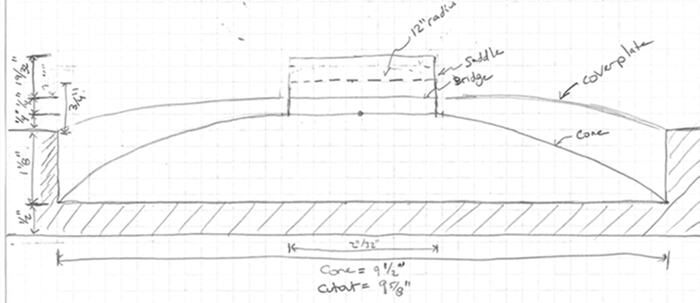
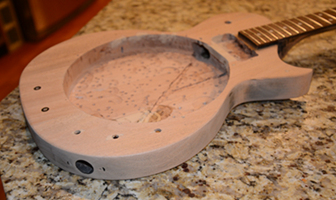
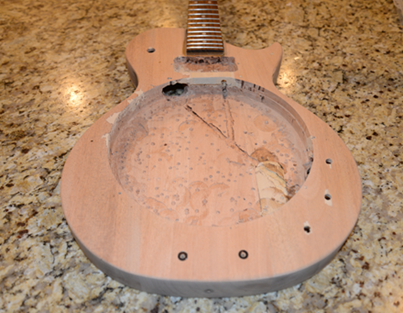
Then, the next thing to do was to figure out exactly where to cut the hole for the resonator, and how deep.
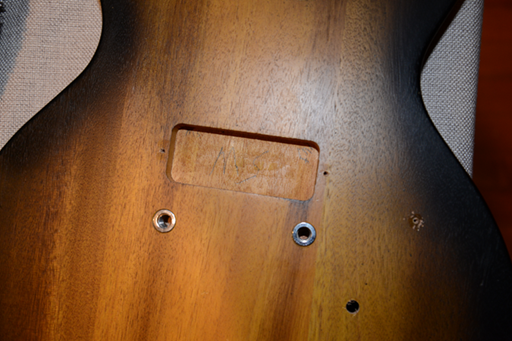
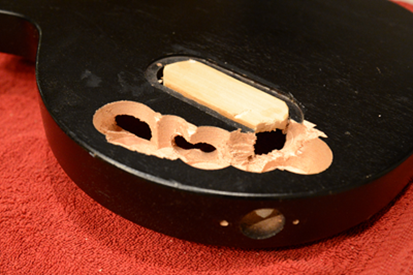
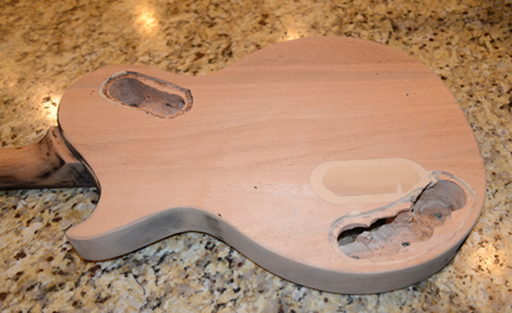
I also had to figure out where the control cavity belongs. The old cavity was not positioned where I could utilize it properly, so I filled the old cavity with wood.
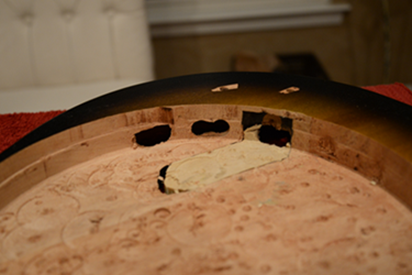
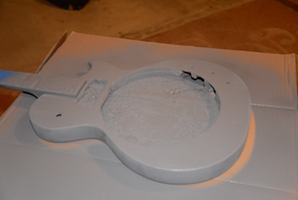
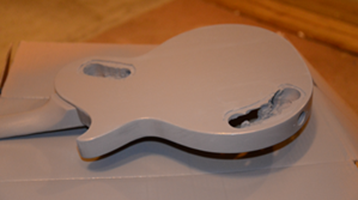
Once the planning was done, it was time to cut a hole in the guitar for the resonator cone.
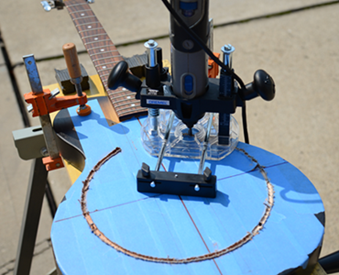

As I did this, I repeated test fitted the resonator cone and P90 pickup to get it to fit perfectly:
Once the main holes were created, I needed to create two rear-access control cavities - one for the volume and tone knobs on bottom right of guitar, and one for the two-way pickup selector on the top left of guitar. This included cutting access between the resonator hole in the guitar and the control cavities.
Then it was on to installing the biscuit and saddle, the tailpiece, the lower half of the resonator coverplate, and a set of strings. I sanding the saddle to make the action low.
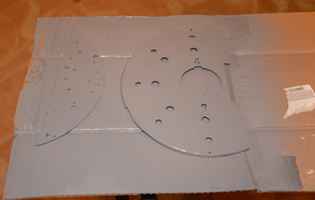
The next step was to create the upper coverplate from an thin metal plate that I found at a thrift store that was the perfect size and thickness. I had to cut off the edge lip of the plate, and cut a hole in the center to fit over the biscuit.
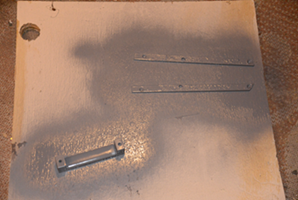
For the palm rest / biscuit protector, I found a drawer handle that was the appropriate width, and cut it down to the right height. I drilled two holes in the coverplate to be able to screw the palm rest to the coverplate.
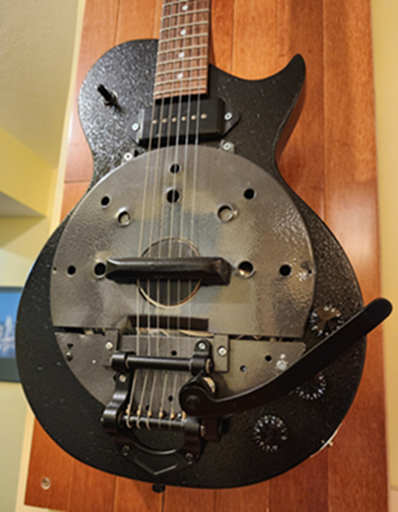
I connected two metal rails to the back of the coverplate and palm rest (sharing two screws that were used to connect the palm rest to the coverplate). I had to clip the edge of coverplate to allow the rails' bottom and the coverplate bottom to fit flush with the top of the guitar. Then I attached the coverplate to the guitar via the four screws (two on either side of each rail).
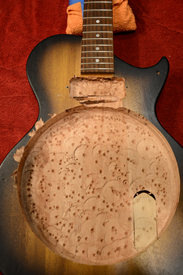
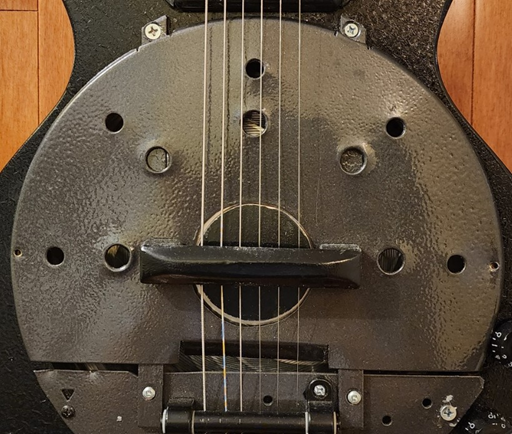
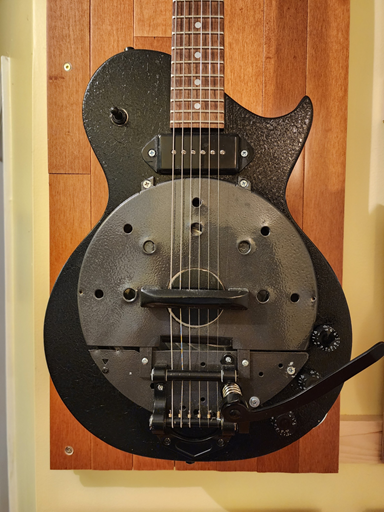
Now, with the cover attached, the acoustic sound of the guitar improved but was now more muffled. So I drilled a few holes into the top in a decorative pattern until I got the acoustic sound that I wanted from the guitar.
For reference, below is a picture of the upper coverplate, palm rest / biscuit protector, and two rails attached to the guitar on the final product:
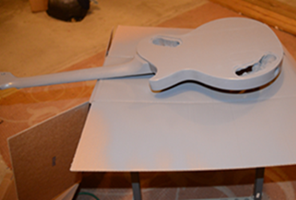
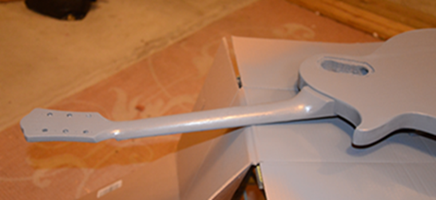
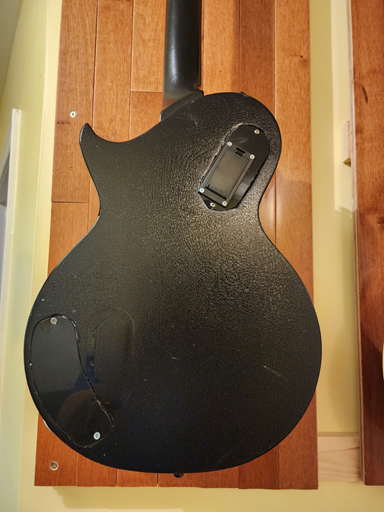
Now that I had all of the cutting done, I moved on to painting the guitar. The first step was to sand off the existing paint, and fill all chips in the wood.
Then I painted the guitar with gray primer.
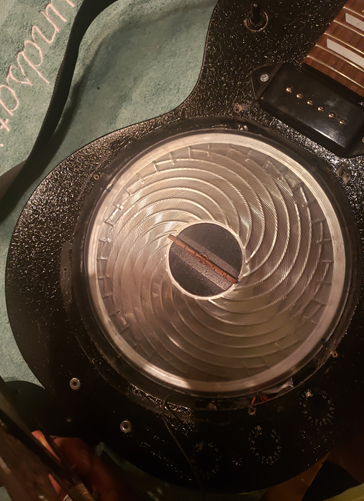
Next was the black paint. However, since it was cold in the garage, I was able to to create a unique texture in the paint by immediately bringing the guitar back into the much warmer house right after the coat of paint was completed. This caused a slight crackling appearance.
At this point, the basic build was complete, and the guitar could be played acoustically. But I wanted an electric resonator, so the next step was to design the wiring.
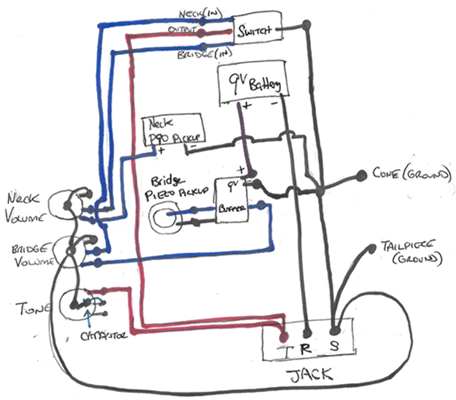
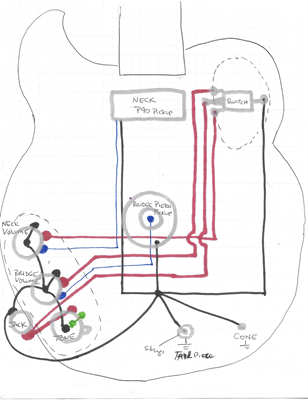
Initially, I designed the electronics to be passive, but much of the low frequencies were cut, making it very tinny sounding. By adding active electronics (the "buffer" circuit in the left diagram above), the output sound was much improved. I put the battery compartment in the same rear-accessed cavity as the 2-way switch (top left horn of guitar). The battery is not engaged when there is no cable inserted into the output jack. This allows me to keep the battery in the battery case when the guitar isn't in use. (I will document the buffer circuit in another blog.)
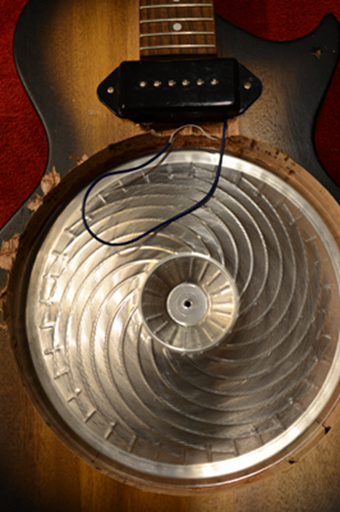
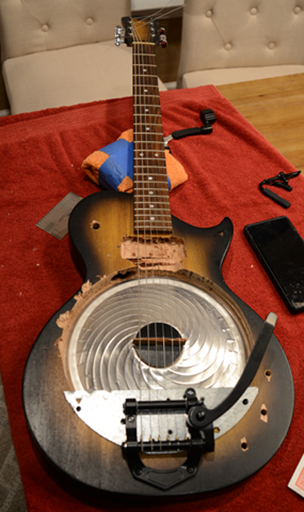
Now that the electronics were designed, the wires were routed under the resonator cone, and the P90 pickup, piezo pickup, pots, jack, and knobs were installed.
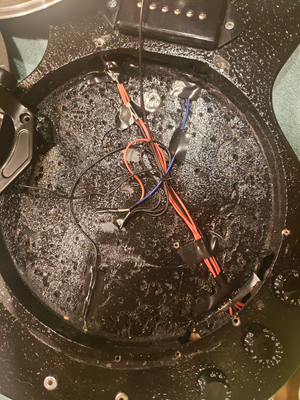
The bridge and the resonator need to be grounded as well. To ground the resonator, I placed the ground wire so that it makes contact with the resonator cone when it is installed (which can be seen in lower portion of the left image above).
The piezo was attached to inside of the resonator cone directly under the biscuit.
I used the original black pickguard material to cut out covers for the access holes on the back of the guitar.
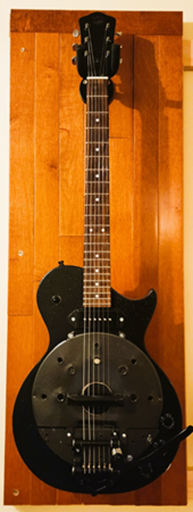
Then I was able to put it all together:
Now I have a great electric resonator guitar, which sounds AMAZING! It is such a fun guitar to play. Even unplugged, it has a cool resonator sound. And with it plugged in, it sounds even better!